
Accelerator Type 1A Grass Catcher Installation Video
Step by step instructions for installing the Accelerator Type 1A grass catcher.
Watch VideoTools Needed
- Safety glasses
- Gloves
- Drill with sharp 9/16” bit
- Pen
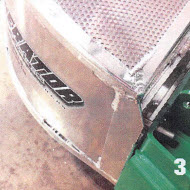
No Bracket Installation
Each catcher comes with mounting instructions specific to that catcher. All catchers have a general information sheet that provides catcher care direction and basic instructions. If your catcher comes with a bracket in the box, then you will also receive specific bracket installation instructions.
It is your responsibility to read the warnings below and follow the provided instructions.
“Accelerator Ready” Installation (Type 1A)
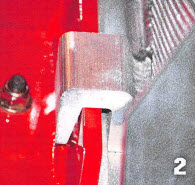
TYPE 1A: “ACCELERATOR READY” MOWERS WITH A LIP AND A HOLE THAT DO NOT REQUIRE A BRACKET OR DRILLING
-

Step 1
If necessary, remove the deflector shield assembly to provide room to mount the catcher. Locate the hole in the lip above the discharge chute and insert the pin at the front of the catcher into the hole.
-
Step 2
Then slowly lower the catcher until the hook seats down onto the lip of the mower.
-
Step 3
Catcher Pin Receiver Hole Installation (Type 1B)
-
Step 1
Remove the deflector shield assembly if necessary to provide room to mount catcher. Temporarily place the catcher against the mower and align it so that the catcher intake mates up to the mower discharge. Note where the catcher pin rests on top of the mower lip.
-
Step 2
Mark a point centered on the lip of the mower directly beneath where the catcher pin overlapped it. The point should be roughly 7 / 8” below the upper edge of the lip.
-
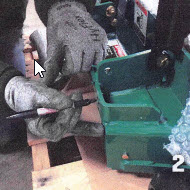
Step 3
Punch and drill a 9 / 16” hole. Insert the pin into the hole, then lower the back of the catcher down.
Operator's Manual
Operator's Manual
Please read the operator's manual carefully before installing your catcher.