Tools Needed
- 1/4” drill bit and drill
- safety glasses
- ratchet strap or bungee cord
- gloves, ratchet, and 1/4” socket
- hammer and center punch
- sharpie and phillips screw driver
Each catcher comes with mounting instructions specific to that catcher. All catchers have a general information sheet that provides catcher care direction and basic instructions. If your catcher comes with a bracket in the box, then you will also receive specific bracket installation instructions.
It is your responsibility to read the warnings below and follow the provided instructions.
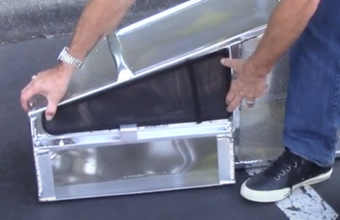
Dust Cover Installation
-
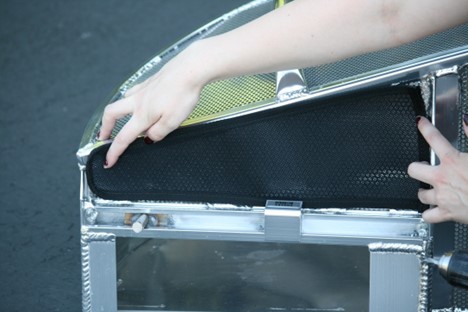
Step 1:
Match the corresponding panels of the dust cover to the perforated panels on the catcher.
-
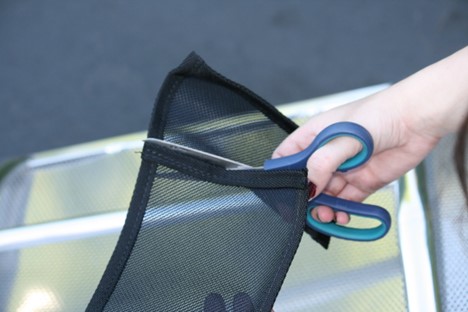
Step 2:
If your catcher has shorter perforated panels, you may need to trim the panels along the pre- stitched seam line.
-
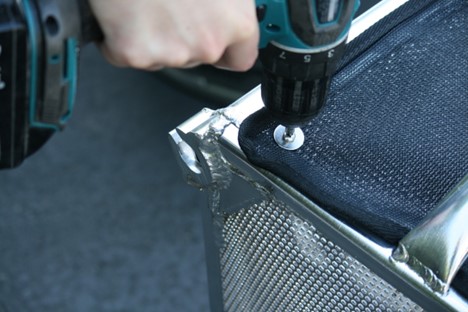
Step 3:
Starting at the corners, drill the stainless screws and washers into the holes in the aluminum panel.
-
Step 4:
Space the screws approximately 6” apart. Side panels will take 8 screws. The top will take 12 screws. The door will take 7 screws. The smallest panel will take 5 screws.
-
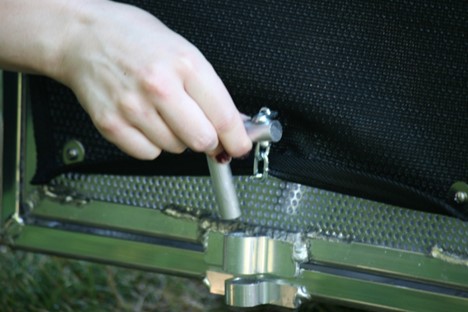
Step 5:
The lower corners of the rear door should have screws, but leave the center of the door loose in order to allow the door pin to be removed.
-
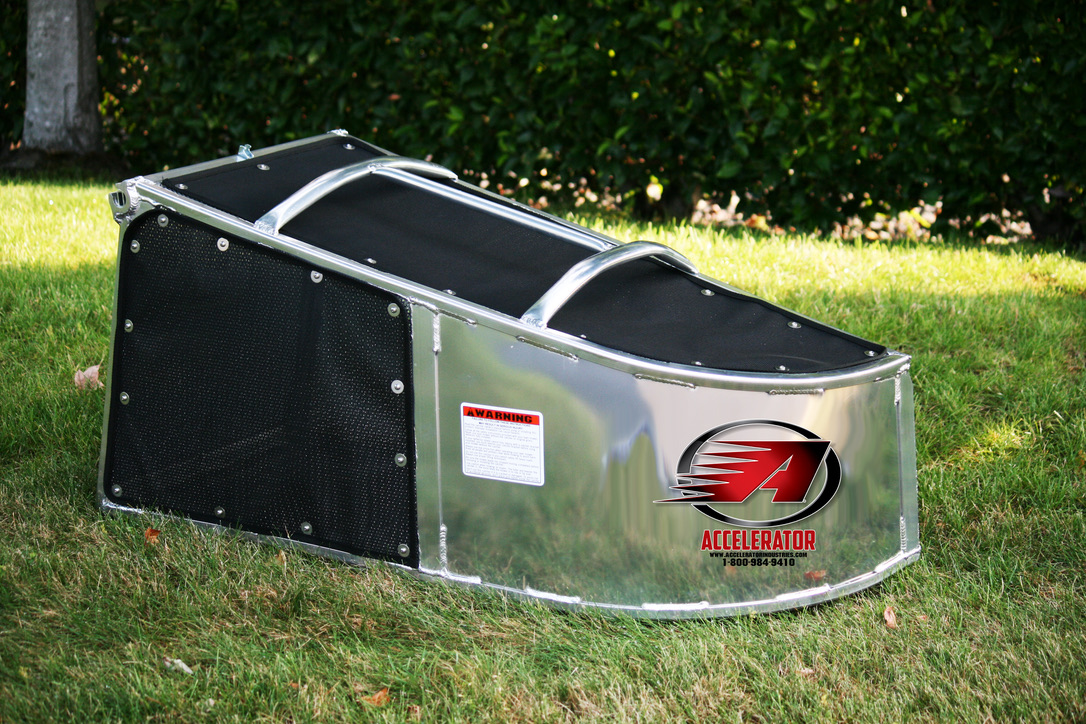
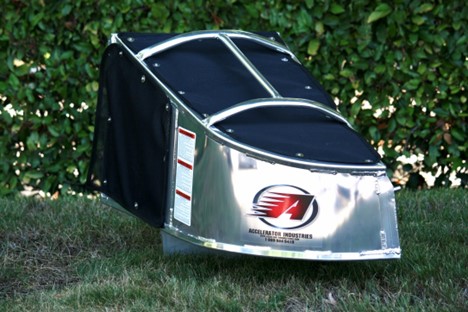
Step 6:
When complete your Accelerator will look like this. Maintenance of your dust cover is as simple as occasionally blowing it off with a backpack blower or rinsing it with a hose.
Operator's Manual
Operator's Manual
Please read the operator's manual carefully before installing your catcher.