
Tools Needed
- Safety glasses
- gloves
- ½” ratchet drive
- ½” open end wrench
- drill with sharp 5 / 16” bit
- hammer
- center punch
- two C-clamps
- pen
Each catcher comes with mounting instructions specific to that catcher. All catchers have a general information sheet that provides catcher care direction and basic instructions. If your catcher comes with a bracket in the box, then you will also receive specific bracket installation instructions.
It is your responsibility to read the warnings below and follow the provided instructions.
Double Pin Installation (Type 5)
-
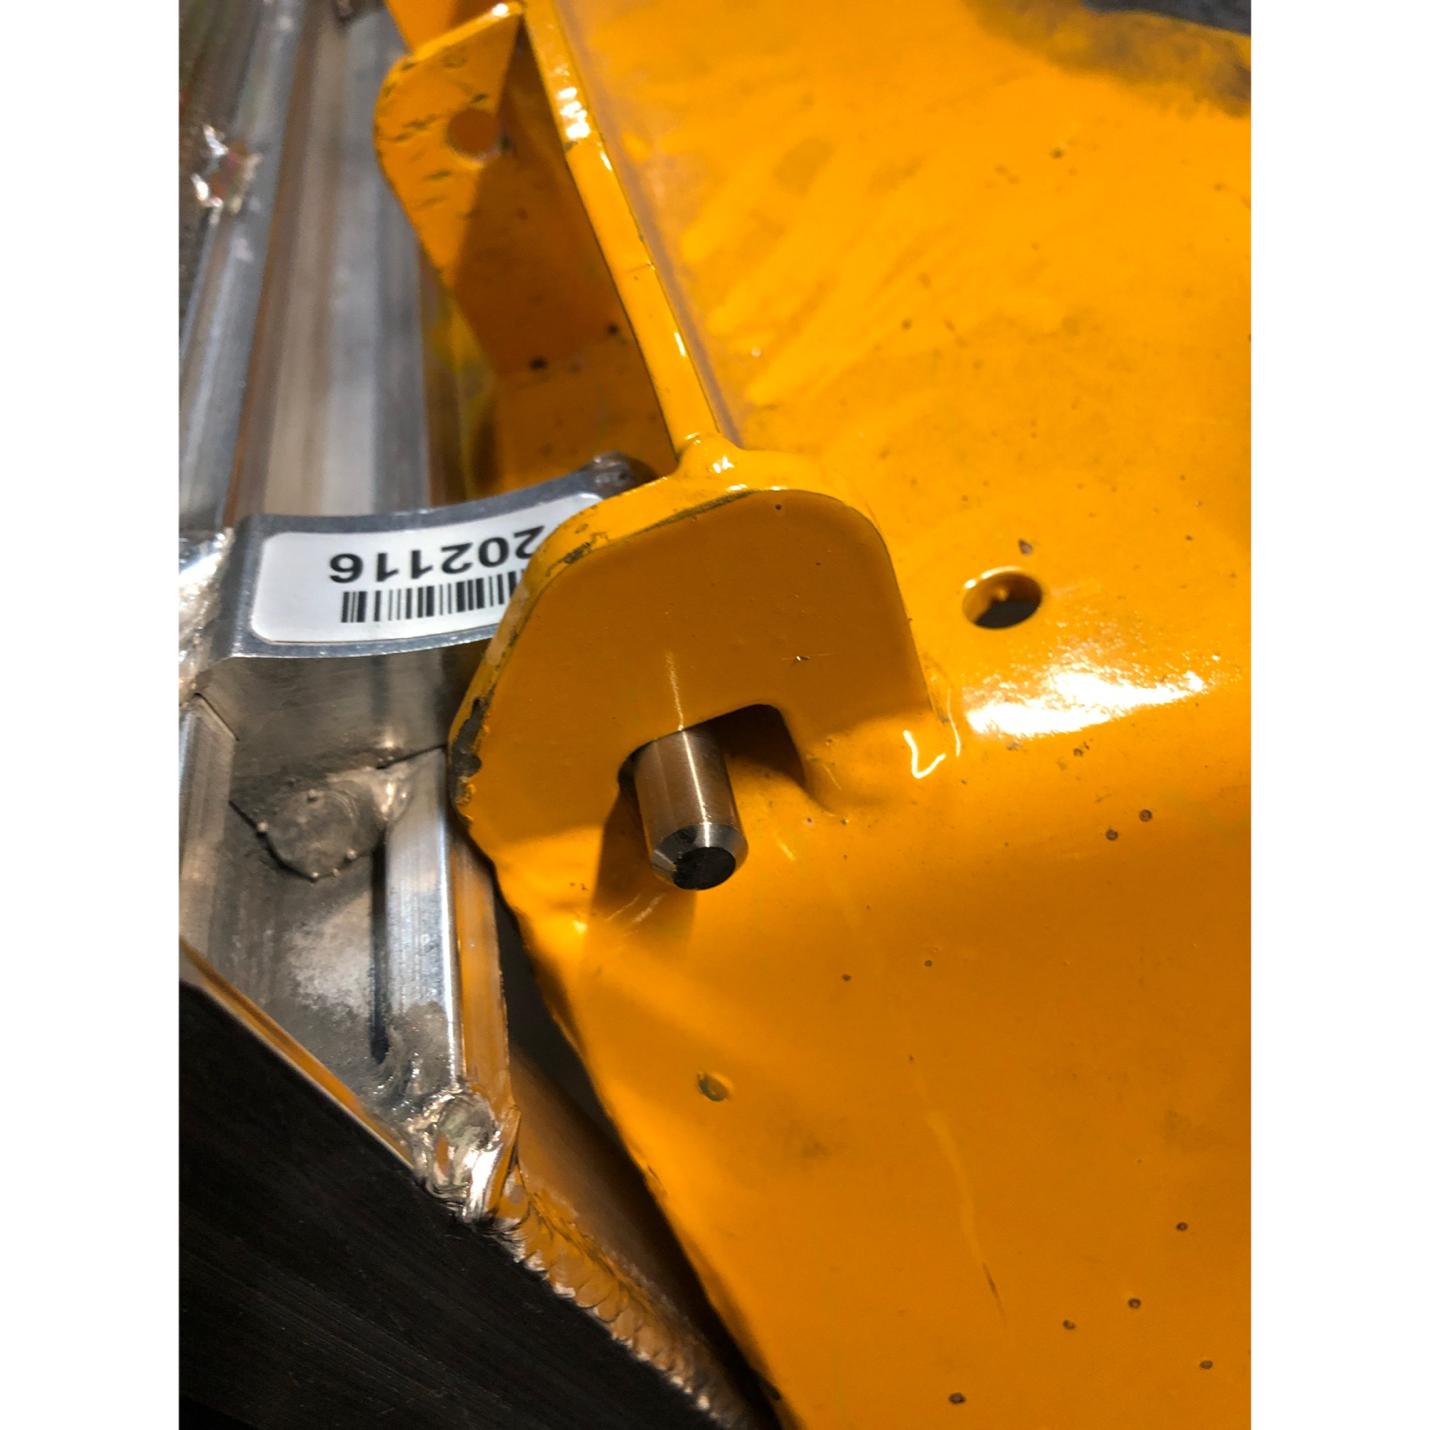
Step 1:
Remove the deflector shield assembly if necessary to provide room to mount the catcher.
-

Step 2:
Slide the front pin into the hole or slot on the front of your mower.
-
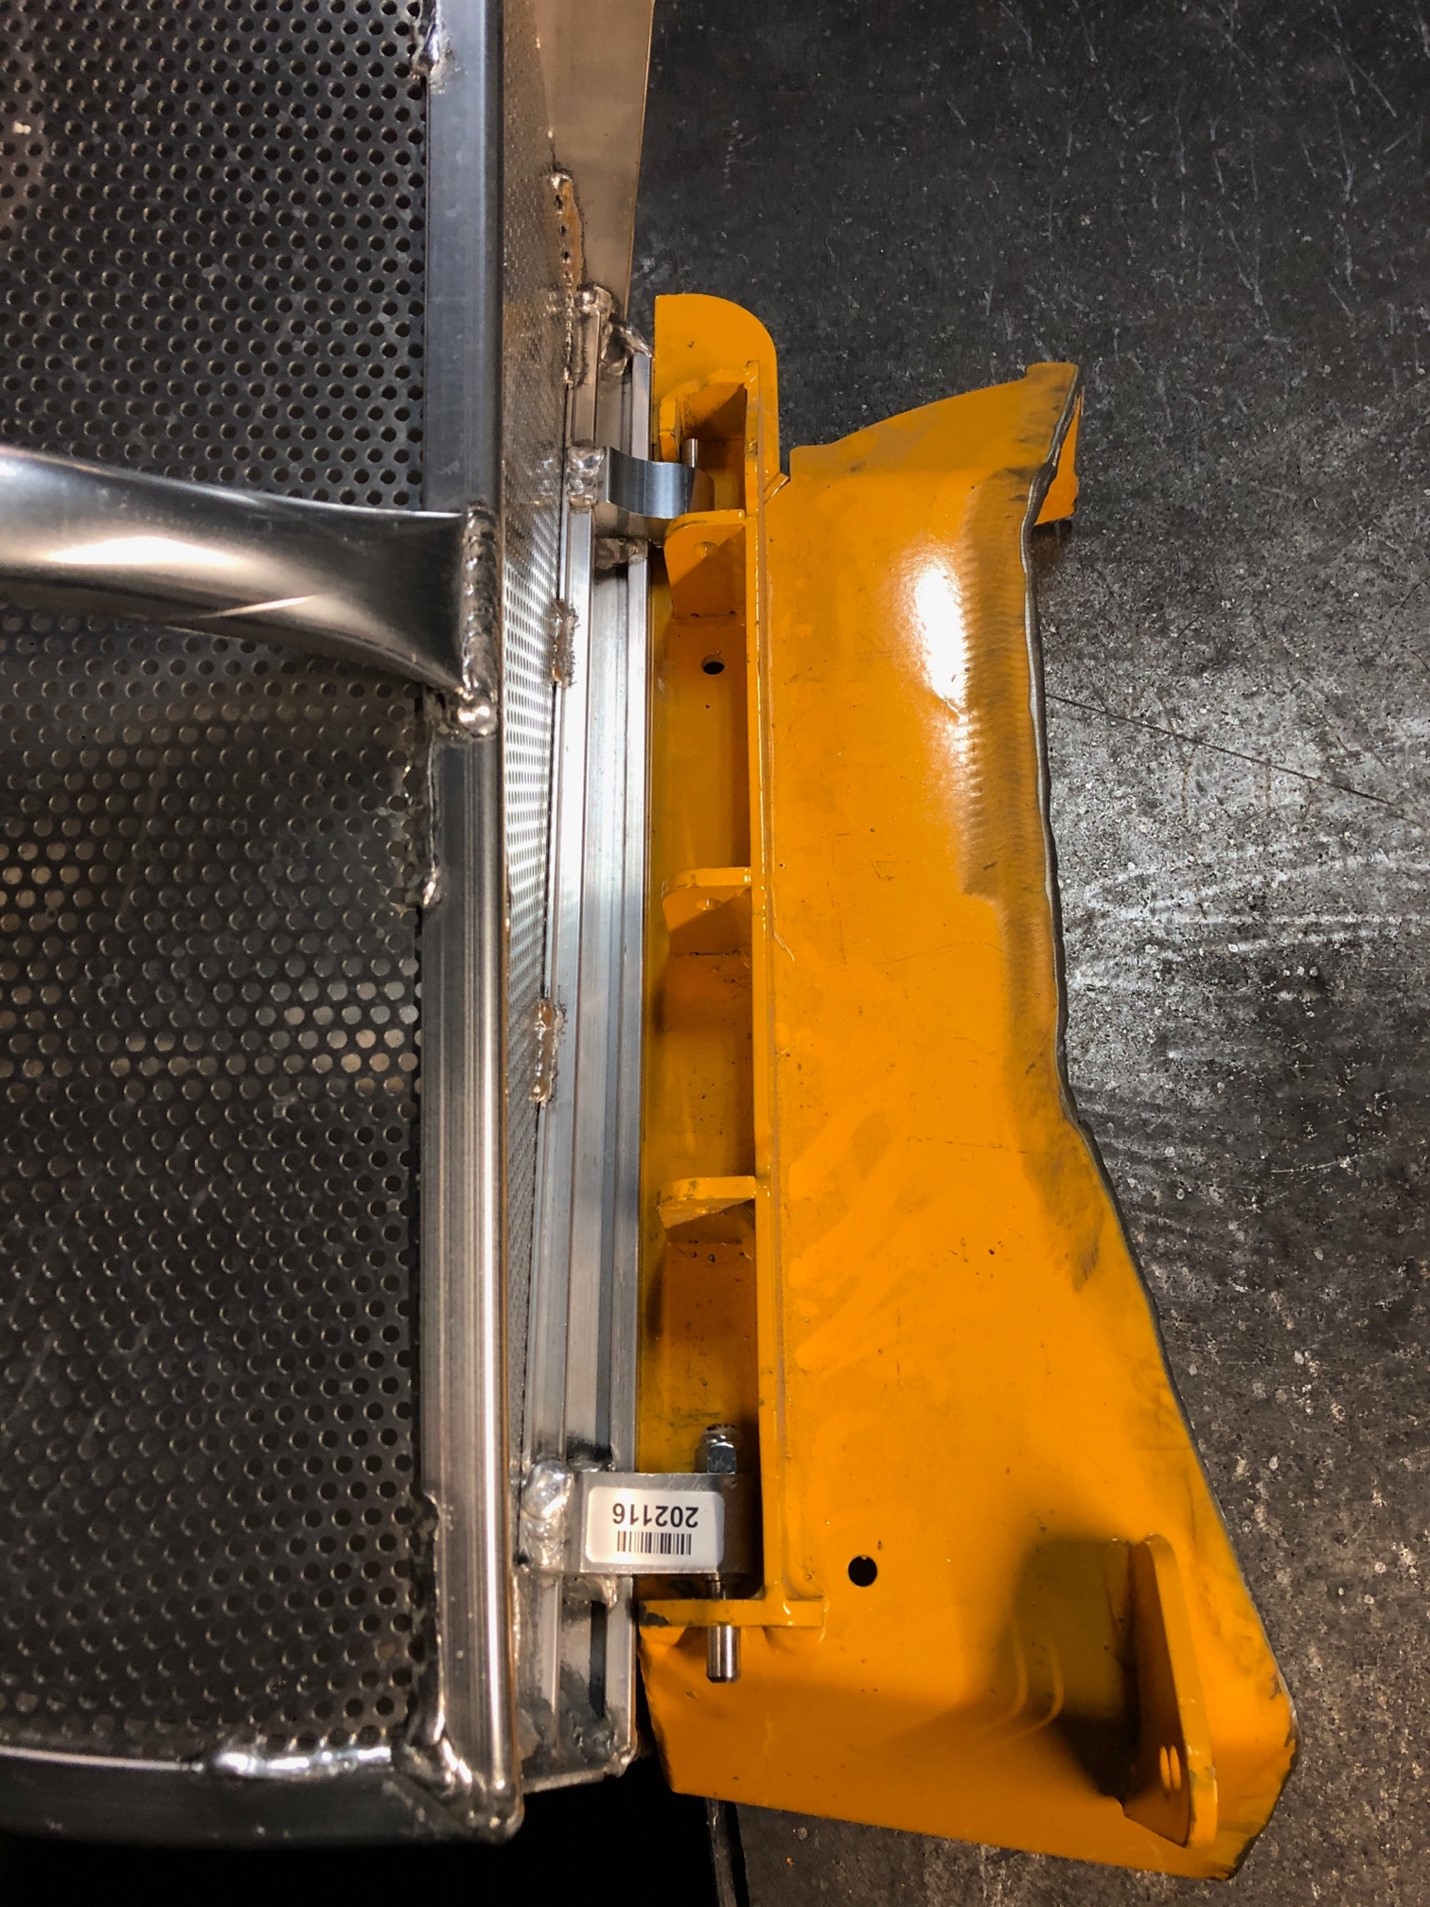
Step 3:
Then slowly lower the rear of the catcher down, dropping the rear pin behind the lip on the mower, securing the catcher into place.
Double Pin Instructions – With Cotter Pins
-
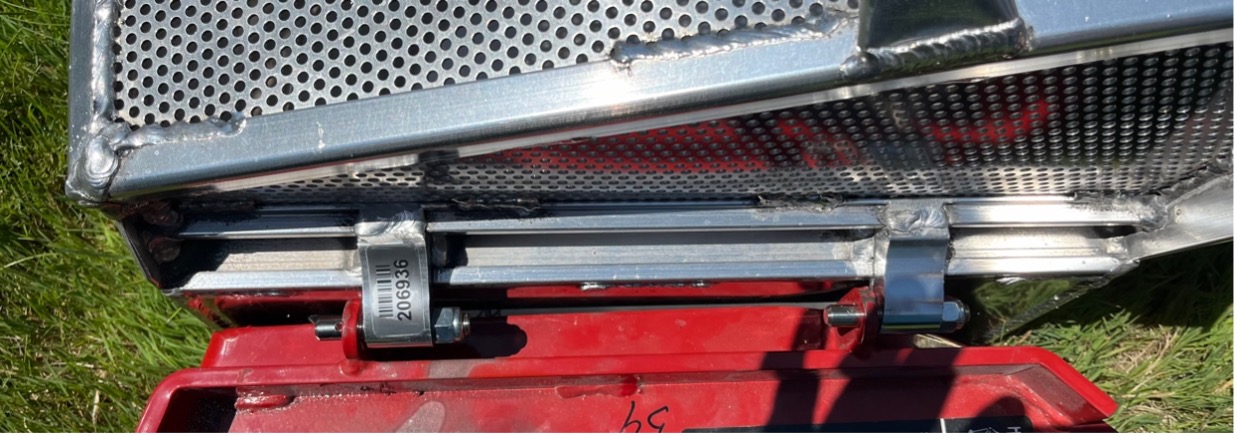
Step 1:
Slide catcher pins through the pre-drilled holes on mower tabs.
-

Step 2:
Line up cotter pin with the pre-drilled holes in catcher pins.
-

Step 3:
Push cotter pin in place until secure.
-
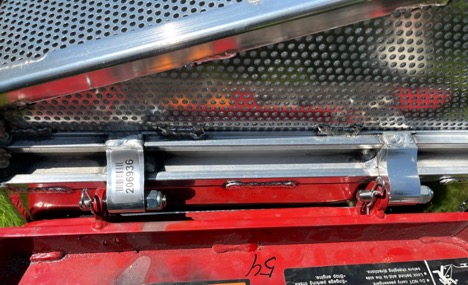
Step 4:
Repeat with the second pin.
Operator's Manual
Operator's Manual
Please read the operator's manual carefully before installing your catcher.